Mastering Seedance 2: A Creator's Production Guide
A practical Seedance 2 creator workflow for timing, continuation, storyboards, prompts, audio, character consistency, and reusable production assets.
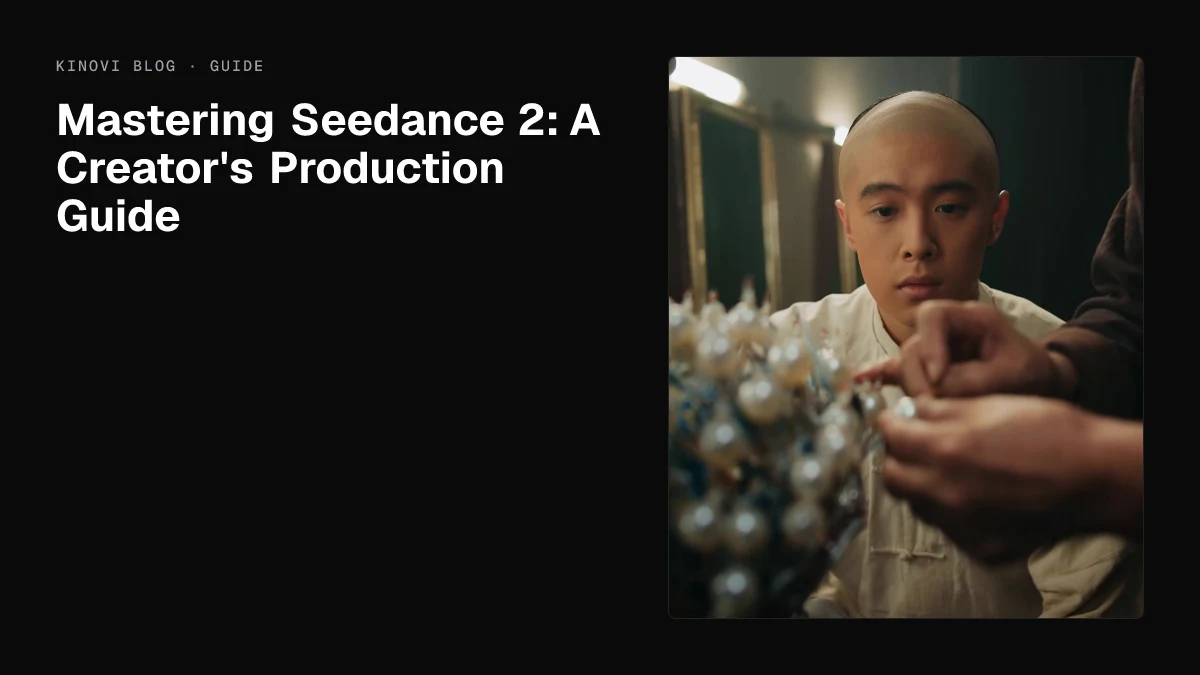
Seedance 2 is an incredibly powerful generation tool, but at the end of the day, it is simply a tool. The real magic depends entirely on you, the director, and how you bring your vision to life.
Whether you are building an original IP or a cinematic short, here is a step-by-step workflow to help you get the absolute best results out of Seedance 2 on Kinovi.
Part 1: Master Your Timing & Pacing
Seedance 2.0 supports 4–15-second generation on Kinovi. While you can use the full 15 seconds, hitting the sweet spot is crucial depending on the type of scene you are building:
-
Heavy Action: Aim for 4 to 10 seconds for the most fluid, impactful movement.
-
Dialogue: Practice "Slugging" (timing out your script in your head or with a stopwatch). Ensure your written dialogue actually fits within the timeframe. If you cram too much text into a short generation, the AI will either speak at hyper-speed or skip words entirely. Natural flow is everything.
🎨 2. Lock In Visual Consistency
To keep your characters and art styles looking consistent from shot to shot, do not rely purely on text descriptions.
-
Upload Reference Art: Use your own character sheets, background designs, and style references.
-
Need Assets? Generate your character sheets using Nano Banana or GPT Image 2, both available directly on the Kinovi platform!
-
Pro Tip: If you are using a visual reference, you don't need to waste valuable prompt space describing what the character looks like. The same goes for names, unless the name is explicitly spoken in the dialogue.

This is what a character sheet should look like.
📝 3. Write & Segment Your Script
Once your references are locked in, finalize your script. Do not try to generate a whole scene at once. Break your script down into small, manageable paragraphs, each one representing a single 4 to 15-second segment of your final video.
🛠️ 4. The Perfect Prompt Template
Now, translate that script segment into a prompt that Seedance 2 understands perfectly. You can use LLMs like Gemini, ChatGPT, or Grok to help format your ideas quickly, but here is the highly effective base template I use regularly:
Visuals:
-
Scene 1: [Describe the exact action, camera movement, and lighting for this specific shot]
-
(Add additional scene details if necessary for the segment)
Audio & Dialogue:
-
Audio: [Describe sound effects, background music, atmospheric noise, etc.]
-
Dialogue: [Insert the exact dialogue for the characters to speak]
📖 Putting It Into Practice: From Script to Prompt
Let’s put this workflow into action using a paragraph from a story you want to adapt into a short film:
"The sun was too bright for a stomach so empty. Elara sat against the soot-stained brick of the bakery, her small hand extended. She didn’t beg with a snarl or a demand; she asked with eyes that still somehow believed in the goodness of the people rushing past. "Please," she whispered to a boy wearing the headphones. "Just a little something?" Leo let out a heavy, dramatic sigh. He was running late, his headphones were tangled, and the heat was making his collar itch. He looked at the girl... really looked at her... and felt a sharp, uncomfortable prick of guilt that only made him more irritated. "I don't have any cash," he snapped, digging into his pocket. He pulled out a slightly squashed chocolate bar and shoved it toward her. "Here. Just... stop asking, okay?" He didn't wait for a thank you. He marched off, his face twisted in a scowl of lingering annoyance. Elara looked down at the crumpled silver wrapper. Her heart sank, not because of the meager offering, but because of the way he’d looked at her, like she was a stain on a sidewalk he was trying to keep clean. She tucked the chocolate into her pocket, her eyes stinging more than her hunger."
⚙️ The Conversion Process
Now, we convert this narrative into a structured Seedance 2 prompt.
Pro Tip: When writing your prompt, remember to tag the uploaded reference images for your characters (e.g., @Image1 is the boy, @Image2 is the female), just like in the sample below. Alternatively, you can use our built-in Character Model feature! This is a much more convenient option, allowing you to simply type the character's name instead of constantly uploading and tagging character sheets.

🎬 The Seedance 2 Prompt Example
Here is how that emotional scene translates perfectly into the engine:
Animation Style: High-fidelity, cinematic character animation with soft, naturalistic lighting and detailed environmental textures. The setting is a bustling, sun-drenched city sidewalk. Heat shimmers rise from the asphalt, and the air is filled with floating dust motes.
Visuals:
-
Scene 1: A low-angle medium shot. @Image2 is sitting huddled against a soot-stained red brick wall of a bakery. The camera focuses on her hand, which is small and trembling slightly as she extends it toward the feet of people rushing past. Her expression matches the "sad/teary" pose from her reference sheet—hopeful yet heartbroken.
-
Scene 2: @Image1 enters the frame in a hurry. He is fumbling with his tangled headphones and adjusting his backpack, looking visibly overheated and stressed. He stops abruptly in front of @Image2.
-
Scene 3: A tight medium shot of the interaction. @Image1 lets out a heavy, dramatic sigh (matching his "yawning/exhaling" expression). He snaps his head toward her with the "angry/irritated" expression from his reference sheet. He aggressively digs into his pocket, pulls out a slightly squashed chocolate bar in a silver wrapper, and shoves it toward @Image2.
-
Scene 4: @Image1 turns on his heel and marches away into the crowd. The camera stays on his back as he walks, his shoulders hunched in annoyance.
-
Scene 5: A tight close-up on @Image2's face. She looks down at the crumpled chocolate in her lap, then looks up at the disappearing back of @Image1. Her expression shifts from the "surprised" look to the "crying/teary-eyed" pose from the reference sheet. A single tear tracks through the dust on her cheek as the harsh sunlight glints off the silver wrapper.
Audio & Dialogue:
-
Audio Design: The sound of a busy city: overlapping footsteps, distant car horns, and the low hum of an air conditioner from the bakery.
-
Dialogue (@Image2): Whispering in a thin, fragile English voice: "Please... just a little something?"
-
Dialogue (@Image1): Responding with a sharp, biting English tone: "I don't have any cash! Here. Just... stop asking, okay?"
-
Audio Transition: The ambient city noise fades into a somber, solitary cello melody as @Image1's footsteps retreat. The crinkle of the silver foil in @Image2's hand is the final distinct sound.
If you follow this framework, you should get a result similar to the clip below!
Part 2: From Clips to Cinema — Mastering Scene Continuation 🎬
A single great generation is a win, but one clip isn’t a film. To build a cohesive narrative, you need to bridge your shots together so they flow like a professional production.
Here is how you turn your Seedance 2 clips into a full-scale cinematic experience.
🎥 1. The Power of Multiple Takes
Even in AI filmmaking, don't settle for "Take 1." It is highly advised to generate multiple takes of the same prompt. This allows you to:
-
Select the strongest performance from your takes.
-
Splice different parts of each take together in your editor to get the perfect sequence.
🔗 2. Method A: The Seamless Video Continuation
This is the gold standard for maintaining continuity, though it is slightly more credit-intensive.
-
The Command: Use the prompt: "continue film after @video1".
-
The Result: The AI picks up exactly where the last frame left off. It intelligently carries over all metadata, including your characters, backgrounds, music, and sound effects for perfect consistency.
📸 3. Method B: The Screenshot Jump-Start (Budget Friendly)
If you want to save credits, you can use the "first frame" method.
-
The Workflow: Take a screenshot of the very last frame of your previous video.
-
The Command: Use the prompt: "Use @Image as the first frame of the video."
-
The Trade-off: While this saves credits, it acts as a "soft" restart. It will follow your visual reference and character sheets, but it won't automatically carry over the specific audio or movement data from the previous generation.
✂️ 4. The Final Cut: Assembly & Editing
To string these clips into a masterpiece, you’ll need to move your assets into a video editor.
-
Professional Options: VEGAS Pro, Adobe Premiere Pro, or Filmora.
-
Budget Options: There are many free online video editors available with a quick Google search.
Part 3: The Storyboard Advantage
If you want to plan your cinematic vision before you start generating, you can also make a good video by using a storyboard. It acts as a visual roadmap for your script and helps the AI understand the exact framing, composition, and progression you want.
How to Build Your Board
You do not need to be a professional artist to make this work!
-
Do It Yourself: You can design the storyboard yourself. Do not worry about high-end art skills; even stick figures can work well! Seedance 2 is great at interpreting basic spatial relationships and poses.
-
Use AI Tools: If you prefer a more polished reference, you can use AI image generators like GPT Image 2 or Nano Banana to create your storyboard panels.
A storyboard should look like this:

By feeding these sequential images into Seedance 2 alongside your prompts, you guarantee a much higher level of control over your final film. Planning your shots panel-by-panel is the ultimate secret to professional-level AI directing!
Part 4: The Art of the Prompt ✍️
Now comes the most important part of video generation: the actual prompt itself. There are many ways to do it, and just as many ways to get it wrong.
A bad prompt will generate a bad video. If your prompt lacks specific details, that vagueness will easily reflect in the final output. Think of it like being a director on a movie set—giving a lack of directions to the AI is a recipe for a messy scene.
⚠️ Crucial Prompting Notes:
- Trust Your References: Do not waste prompt space describing character appearances if you are already using a character sheet or image reference. Let the image do the heavy lifting!
📚 Recommended Reading
To help you master your directing skills, I highly advise reading through the community resources. Here is an excellent guide to start with when learning how to structure your Seedance 2 prompts effectively:
🔗 Seedance 2.0 Ultimate Guide & Selected Tips
Part 5: Audio Mastery & Voice Cloning
Sound design is half of the cinematic experience! Seedance 2 gives you some incredible tools to manage your audio directly within the prompt.
Background Music vs. Post-Production
You have the option to upload audio clips to generate background music directly in your scene.
- My Recommendation: For complete consistency across your final film, I highly recommend adding your background music during post-production (in your video editor). It is usually much better to let Seedance 2 focus entirely on generating crisp sound effects and clean character voices.
Custom Voice Samples
You can also upload custom voice samples for your characters! This is a game-changer for dialogue:
-
Match Lines: You can have the AI perfectly sync the character's lip movements to your uploaded audio.
-
Learn & Create: You can have Seedance 2 learn from the uploaded audio sample to generate entirely new spoken lines in that exact voice.
How to prompt it:
Simply use this command in your Audio & Dialogue section after uploading your audio:
"@Image1 (Or Character) uses the voice from @Audio1."
🚀 Build Your Original IP
By mastering these methods—scriptwriting, segmenting your prompts, and strategic editing—you transition from a casual user to a creator. All that stands between you and your own Original IP is your knowledge and your willingness to experiment!
Ready to direct your first scene? Open Seedance 2.0 on Kinovi, preserve the accepted references and prompt, and keep the returned task record with the project.
Current route and support
Kinovi reports 99% API availability and automatically refunds tasks that fail to deliver output. The Kinovi Discord has more than 5,000 members and a direct developer-team feedback path.
Sources checked
Last checked: September 24, 2026.
Related articles
More to try
Related models

ByteDance · video model
Seedance 2.0
Next-generation AI video model by ByteDance. Combines Fast and Pro modes for high-quality video generation.
$0.0707/s
Alibaba · video model
HappyHorse 1.0
HappyHorse 1.0 is Alibaba's high-quality video generation model on Kinovi, supporting text-to-video, image-to-video, reference-image video, and video editing modes.
$0.0801/s
OpenAI · image model
GPT Image 2
Advanced AI image generation and editing by OpenAI. GPT Image 2 excels at photorealism, text rendering, complex compositions, and precise instruction following.
$0.0100/image